Alright so as a continuation from Self Supporting Concept Generation I have since partnered up with Matthew Merrit (http://obdfretroradio.blogspot.ca/) to remix our best ideas and concepts. This project in general is about creating an open top vessel that is self supporting with a single perimeter. Why is self support important here? Well there are two main reasons, one is that if we were to create an object that was to not be self supporting we would require support material in order to create it. This is a waste of resources. Another reason is that it creates limits and requires you to do a little thinking.
Now the term self supporting is a little different than the normal usage, it does not only mean that it can stand on its own, it also means that the 3D printer can build it without support. The way a 3D printer works is that it essentially cuts your 3D model into many layers and draws on individual layers. The difficulty created, especially with a single perimeter having it so that the printer only draws the perimeter and not the layer of the area, is that if one layer juts too far out from the rest of the model the plastic will simply fall to the base. That is exactly what we are trying to avoid. Some of these models below may require to be stretched so as to avoid this. Minor curves can often work but its all about the angles.
So when Matthew Merrit and I met up, and the first thing we did was picked one of our favourite/most functional object from each concept generation collection. The main two were:Matthew's:

Mine:

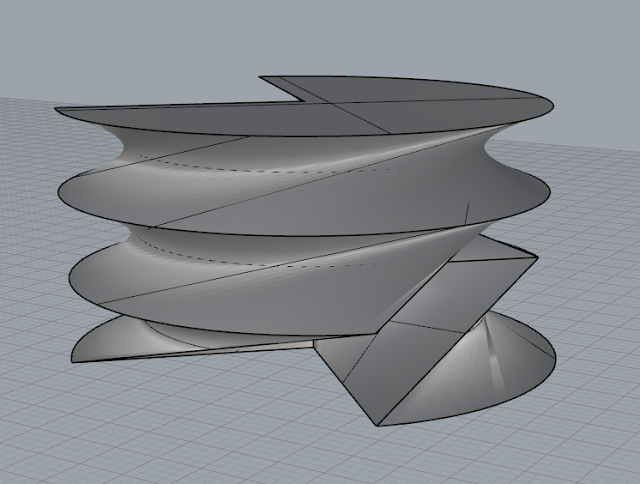
But we both liked some of the other features integrated in our other objects. One of which was a twisting design as seen in some of mine:

As well as the roundedness and design of his!:
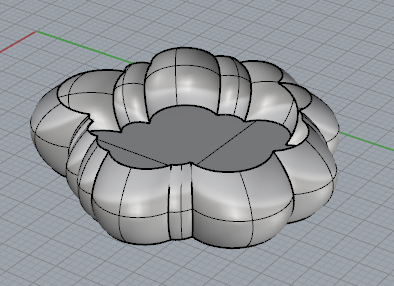
We really liked the geometric pattern of the top one but we also liked the vase shape of the second. We also both agreed that the sudden cutout was really cool. We also thought that it would be interesting to combine the twisting shapes into our design, and maybe experiment with making the cutout would twist with the pattern.
At this point we decided to split up and experiment on our own. We are going to meet up next class and discuss what worked and what did not and finally either decide on one to go forward with or tweak. I worked on the number of layers, some had three and some had too many to count. I also played with the cut in the piece. I tried to also fiddle around with the shape of it! I had a lot of fun just messing around with our pieces.
It was really interesting to push the program and see just how unique, intricate and unique we could make the objects! Some of the struggles, especially with integrating the complex patterns, is that some of the pattern would intersect itself which would only work to confuse the 3D printer.
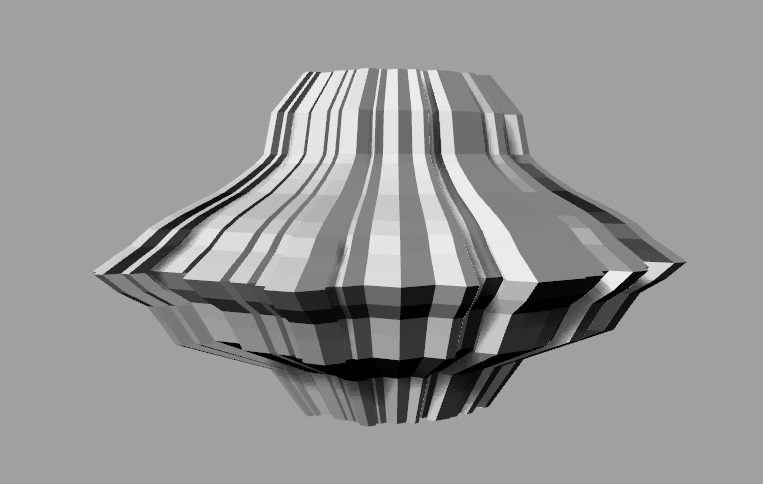
Example of the number of layers used to create the shape

To create these shapes, I made some templates from our two models to help me out! I would use the pacman to help cut out shapes from the second, and would layer these shapes to create the vessels! It made the brainstorming of designs a lot faster and easier to tweak!


As for the brainstorming itself here are the ones that did not intersect themselves of mine:


These are Matthew's! Check out his blog to see his side of this! http://obdfretroradio.blogspot.ca/

No comments:
Post a Comment